How to Use MQTT TCP Socket
MQTT TCP Socket
MQTT TCP Socket listens on a specified URL and the port translates incoming messages from various non-standard IoT cloud communication protocols into standard MQTT publish messages, and then publishes those messages to the Factory MQTT broker.
Getting Started
To use the MQTT TCP Socket you can access it using the below IP address and port number:
3.70.236.134:8081
How To Use Node-Red to Simulate Data
In this documentation, I will be showing you how to make a simulation of that MQTT TCP Socket using node-red.
- In this section, I will show you how to send data to the socket. We will first set the different nodes we will use.
- The first node is TCP Out. is a node used for sending data over a TCP (Transmission Control Protocol) connection to a remote server or device. It's typically used to send data to a TCP server or endpoint, such as a remote IoT device, a network service, or any other application that communicates over TCP
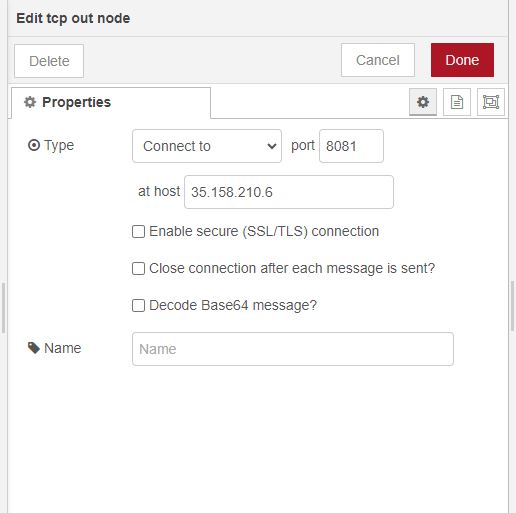
- On that node I have configured it to listen to our TCP Socket.
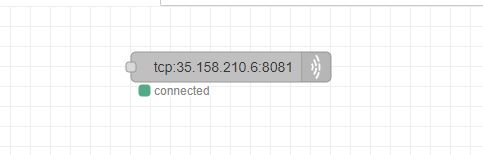
- When connected successful it should display as shown below
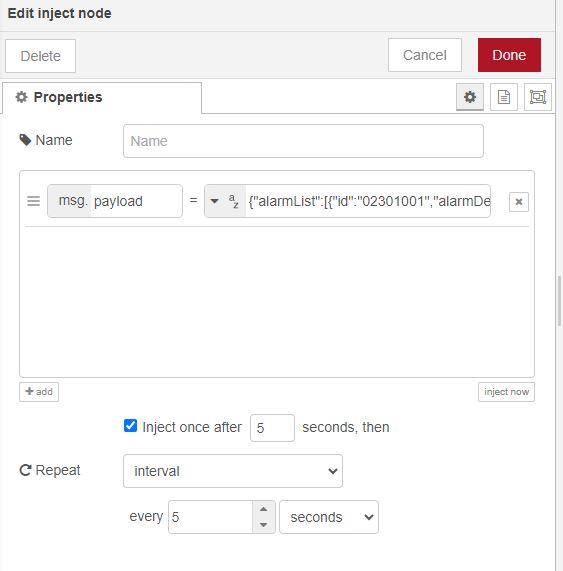
- The next Node we will use is called Inject. The inject node is used to inject data of any format to out TCP Out node.
- To use it you will set it as shown below
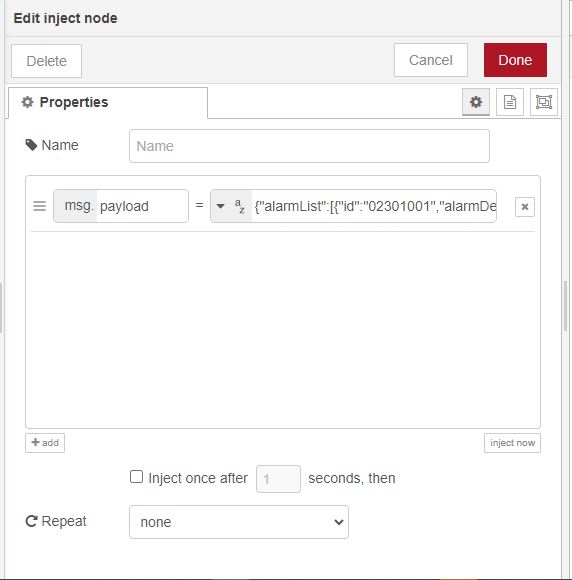
- On the above node, I have set the payload and the data to be sent to our TCP Out node.
- To connect the two nodes so that data can be sent you should have something like this.
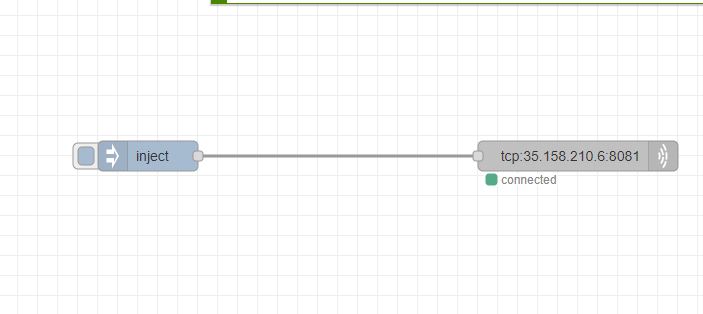
- The above shows a successfully connected inject node and TCP out node. To be able to send the data to the TCP out node we can either set it to send data on intervals or just once.
- To set it to send on intervals you will set the inject node as shown below
- Once you set it like this you will need to deploy the changes so that it can be set.
- Once it has been saved, you will be able to see data being sent to the TCP Socket and that data will also be visible on mqtt-explorer under the Factory Broker.

- The above shows how data sent from the inject node to the TCP Socket gets to be seen on the Factory Broker.
How to simulate data from MQTT topic to TCP-socket on Node-red
- In this section, I will show you how any MQTT messages published to the specified topic will be forwarded to the configured TCP socket. This allows us to bridge MQTT data to a TCP socket in Node-RED.
- We will be using the following Nodes on Node-red:
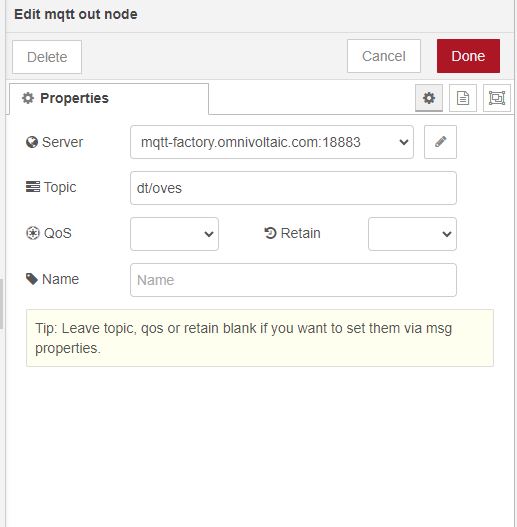
- The above node is mqtt-out which is used for publishing messages to an MQTT (Message Queuing Telemetry Transport) broker.
- From the above Image, you can see that I have connected to the factory broker.
- The next node we will use is Mqtt-in
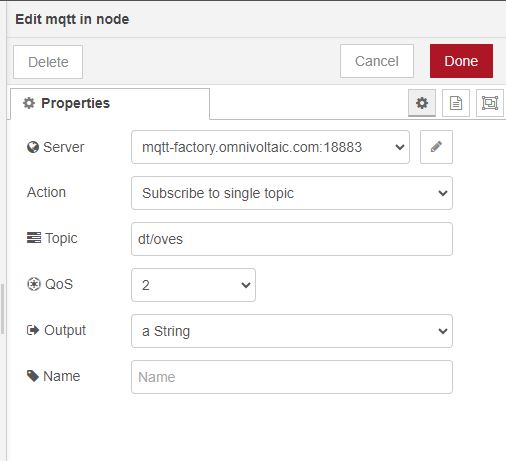
- Mqtt-in is a built-in node used for subscribing to and receiving messages from an MQTT (Message Queuing Telemetry Transport) broker.
-
From the above image, you can see that I have subscribed to the factory broker.
-
Now I will show you how any MQTT messages published to the specified topic will be forwarded to the configured TCP socket. The connection will look like below
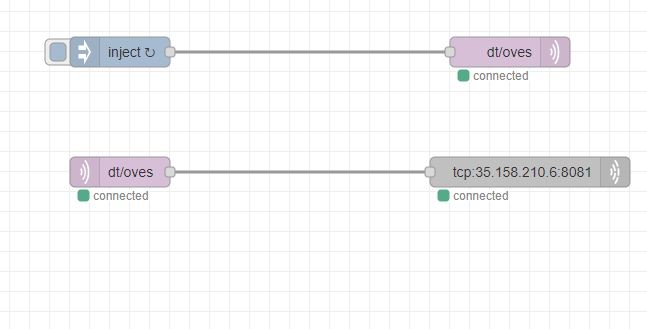
- From the above Image, we have connected the inject flow to the mqtt-out. The inject flow will send data to the MQTT broker we have set on the mqtt-out.
- On the mqtt-in the data which get sent to the broker will then be sent to the TCP socket.
- To be able to see the simulated data, you will see it on Mqtt-explorer as shown below
- That’s how MQTT messages published to the specified topic will be forwarded to the configured TCP socket.
How to use a TCP-Client to simulate data
- In this section, I will show you how to use a NestJs TCP-Client to send data to our TCP Socket.
- The repository we will use as our TCP-Client is: https://github.com/ovesorg/tcp-socket-client
- Once you clone it do the following to start it

- After starting the client you will see the following
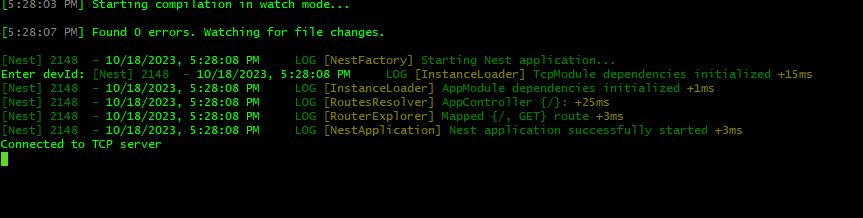
- Once it is started you will see it connected to the TCP Server.
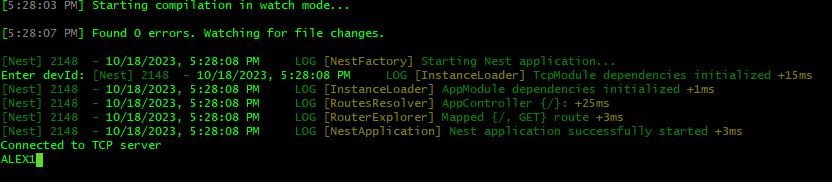
- After connecting, you will be prompted to enter the devId for our client. Type anything e.g ALEX1
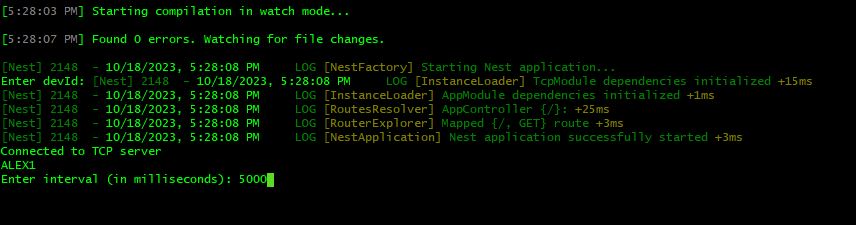
- After inputting the devId, you will be prompted to enter the interval you want the data to be sent. We will use 5,000 milliseconds.
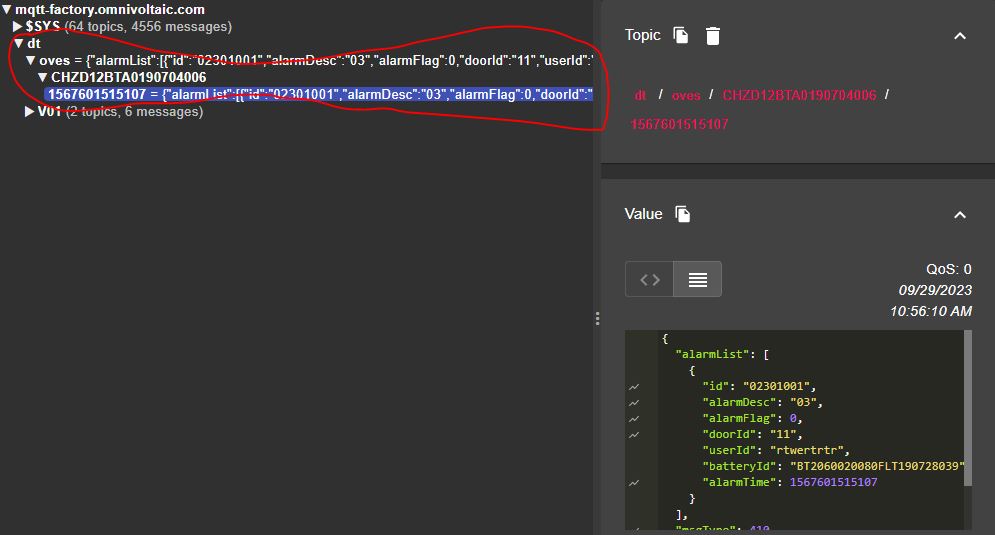
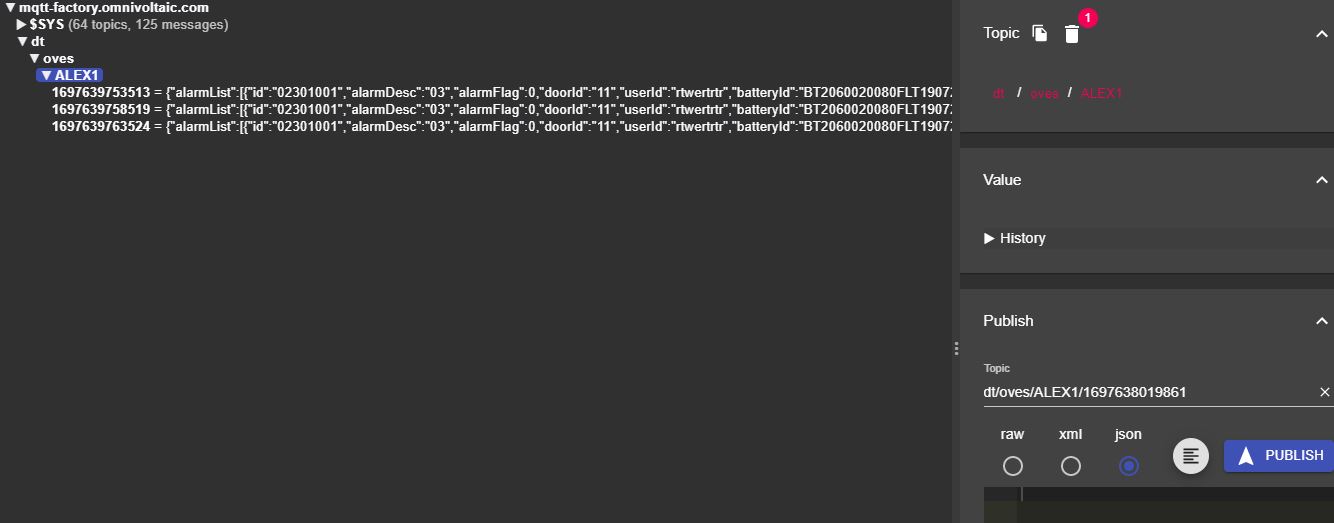
- After that, you will log in to the factory broker(mqtt-factory.omnivoltaic.com) so that you can be able to see the payload that is being sent by our client. You should see something like this
- After that has been done, we will do the reverse. The reverse is to send data to the topic the client is subscribed to. We will use the syntax cmd/oves/{devId}.
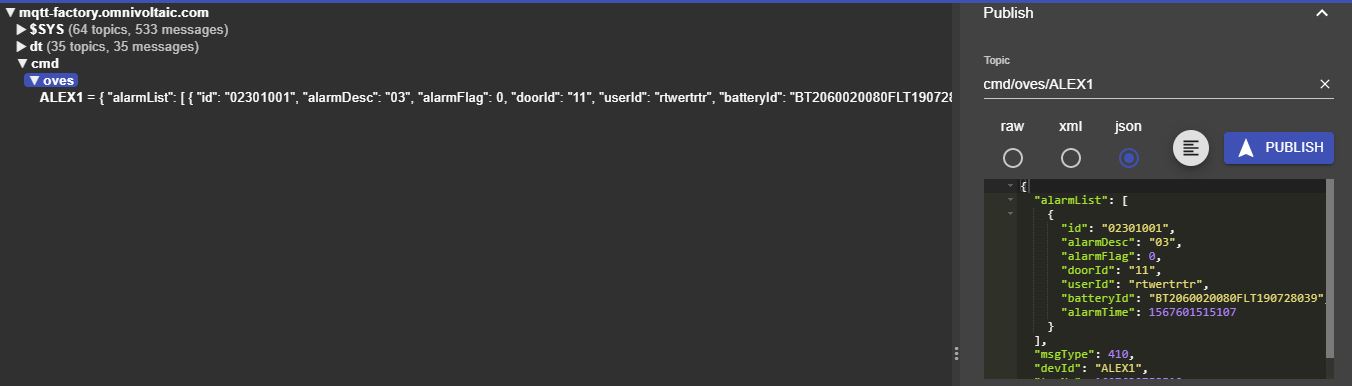
- Once you send data from mqtt-explorer you will see it on the client side as shown below